Inviting your colleagues to Coolset
Last updated: October 19, 2026
Inviting colleagues to your Coolset environment streamlines collaboration and project management. This guide provides a straightforward process for adding new team members and adjusting their permissions as needed.
Adding a team member
Follow these steps to add a new team member to Coolset:
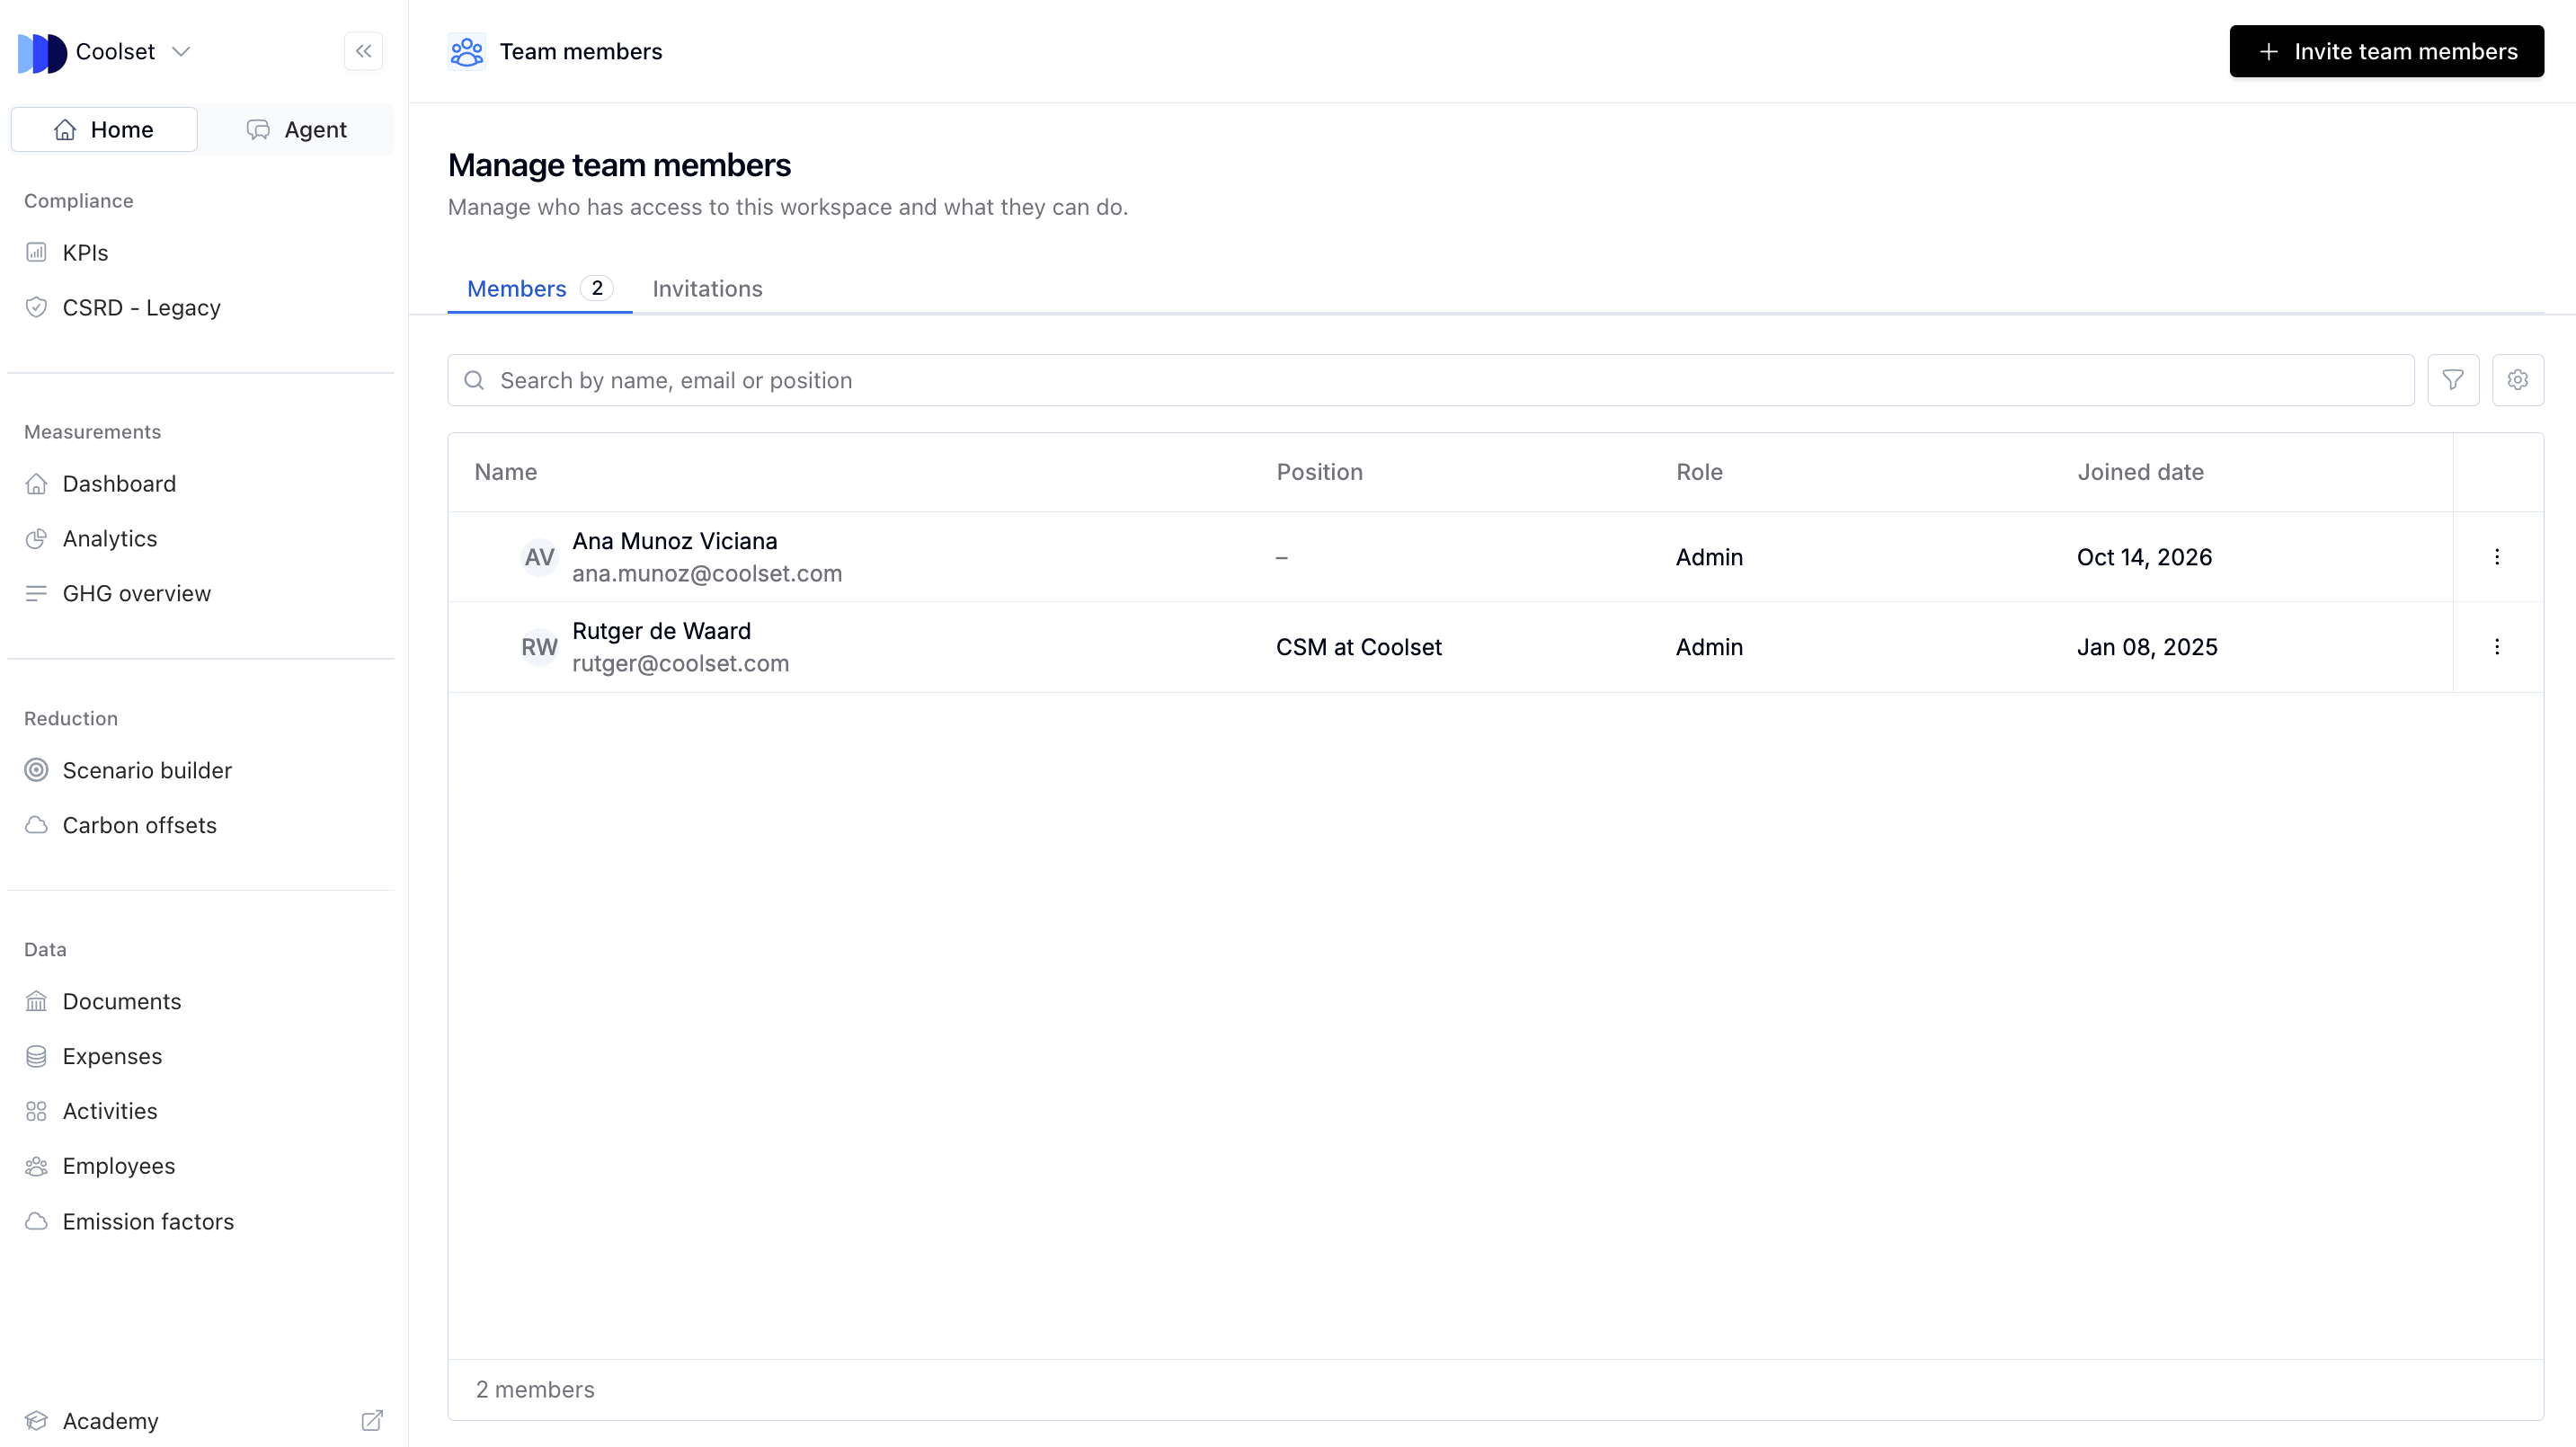
Navigate to the upper left corner of your screen and click on your profile logo.
Select "Team members" from the menu.
Choose "+ Invite team members" on the top right corner of your screen to add new members.
Enter your colleague's email address. To invite multiple colleagues simultaneously, insert "space" and add another team member email. If you add in bulk, separate each email address with a comma.
Assign a role to each new team member. Roles include admin, editor, and viewer (and are explained in more detail at the end of this article).
Note: we recommend adding your colleagues as "admin" since this role allows users to modify things in their workspace.
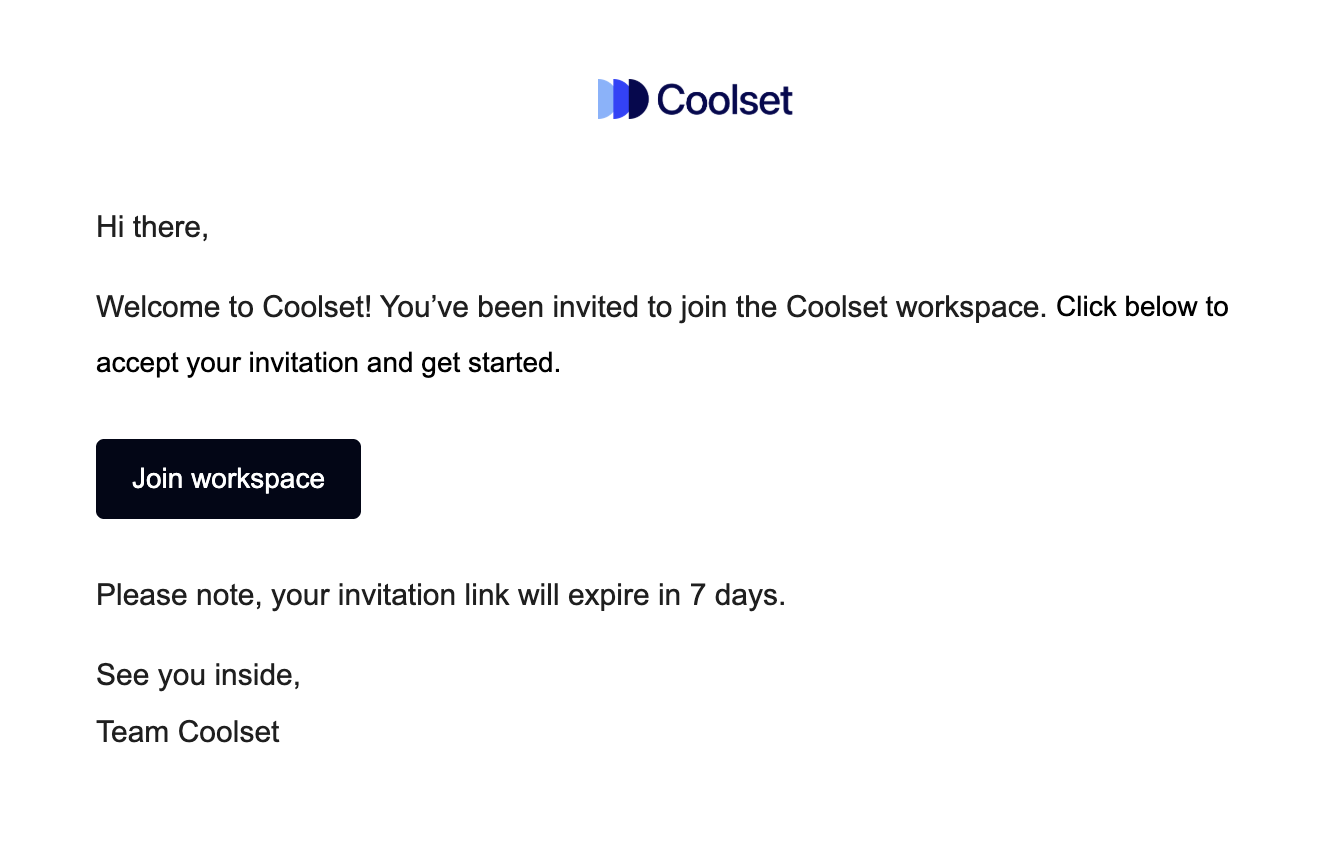
Finalize the invitation by clicking "Send invite." Each invited team member will receive an email with an activation link. Once accepted, they will gain access to the Coolset platform.
Members and invitations tab
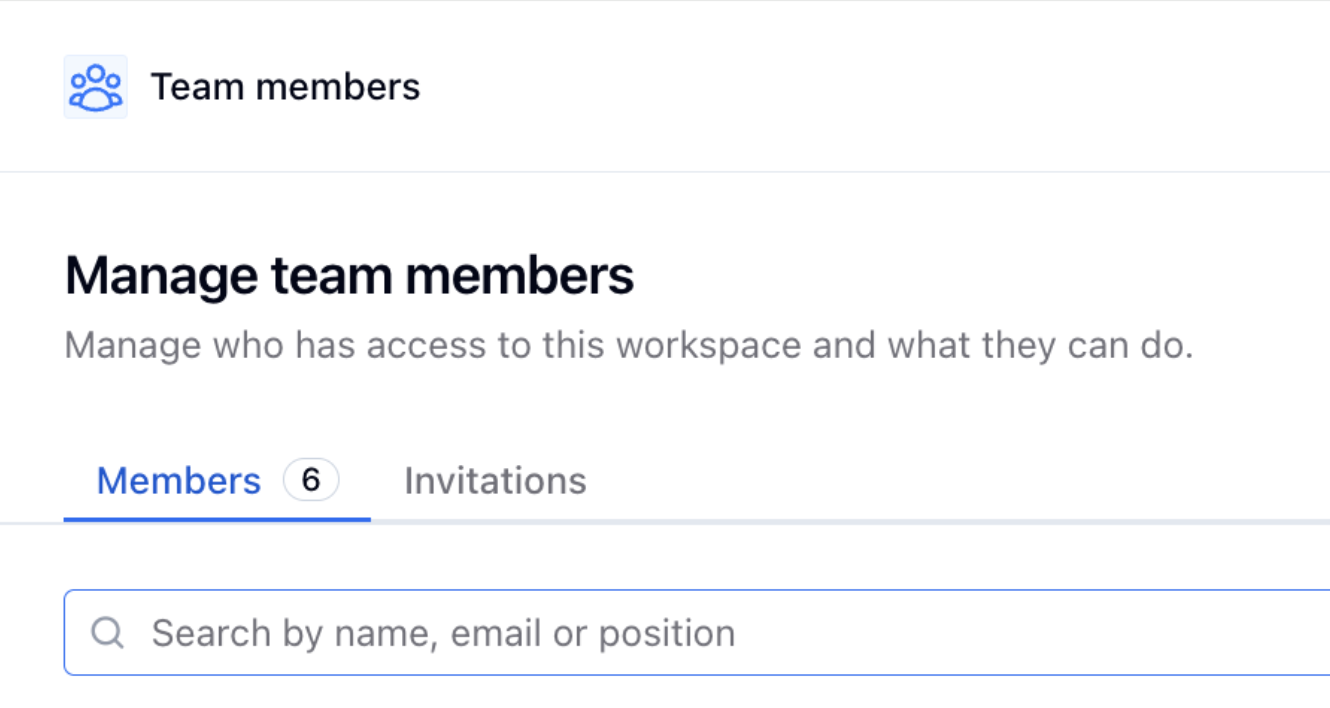
The Team members page shows who has access to your workspace and what they can do. It has two tabs: Members and Invitations.
1. Members tab
This tab lists everyone who currently has access to the workspace. The number next to the tab name shows how many members there are.
For each member you’ll see:
Column | What it shows |
|---|---|
Name | The member’s full name and email address |
Position | Their job title, if they’ve added one |
Role | Owner, Admin, Editor or Viewer |
Joined date | The date they accepted their invitation |
Finding someone: use the search bar to search by name, email or position. Click the filter icon to narrow the list, for example by role.
2. Invitations tabs
This tab lists every invitation sent from your workspace, so you can see who has joined and who hasn’t yet.
Each invitation has a status:
Status | Meaning |
|---|---|
Pending | The invitation has been sent but not accepted yet. |
Accepted | The person joined, and now appears in the Members tab. |
Expired | The invitation wasn’t accepted within 7 days, and the link no longer works. |
Revoked | The invitation was cancelled, and the link no longer works. |
For a pending invitation you can:
Resend it. This sends a new email, and the link in the previous email stops working.
Revoke it. This cancels the invitation before it’s accepted.
Tip: If a colleague says their invitation link doesn’t work, check this tab. The invitation has probably expired or been revoked. You can send a new one with + Invite team members.
Roles and permissions
Owner
The Owner is the main account holder, and each workspace has exactly one. Ownership can’t be given through an invitation: the current Owner must transfer it to someone who is already a team member. Once they do, the previous Owner becomes an Admin.
Admin
Comprehensive access: Admins can manage all aspects of the Coolset environment.
Admin limitations: They can invite other Admins, change roles, and remove members, but can’t change or remove the Owner and can’t make anyone Owner.
Editor
Transaction management: Editors can view and edit transactions, excluding financial amounts.
Team collaboration: Editors have the authority to invite new team members but only as Editor or Viewer, not Admin.
Limited company data access: Editors cannot modify company information.
Viewer
Restricted access: Viewers cannot edit or view transaction details.
Invitation limitations: Viewers are not permitted to invite new team members.
No company data modifications: Viewers cannot change company information.
Changing permissions for an existing team member
To adjust the permissions of an existing team member, follow these steps:
Click on your profile logo in the upper left corner of your screen.
Access "Team members" from the menu.
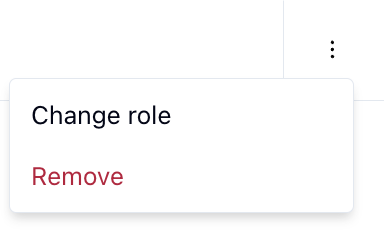
Within the members tab, find the team member and click the three dots (⋮) at the end of their row (Only Owners and Admins can do this).
Choose an option:
Change role: pick the new role (Admin, Editor or Viewer) and press confirm.
Remove: takes away their access to the workspace.
By following these steps, you will be able to manage your team’s access to Coolset and decide what each person can see.